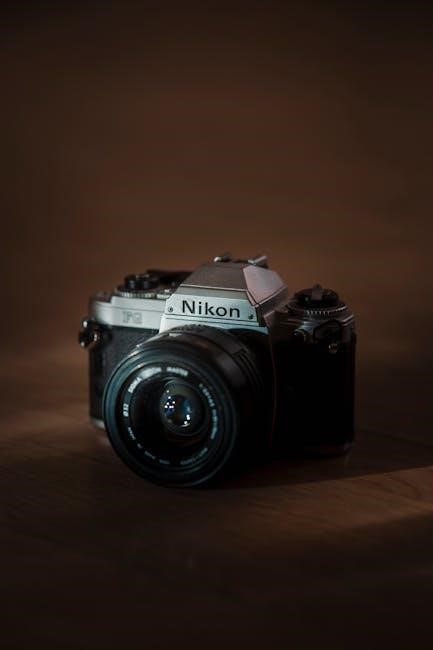
Welcome to the Nikon COOLPIX camera instruction manual. This guide helps you get the most out of your camera. Designed to be user-friendly, the COOLPIX combines simplicity with advanced features. Read this manual to understand safety precautions, camera components, and basic operations. It’s organized into sections for easy navigation, ensuring you can find information quickly. Nikon also provides online resources, including firmware updates and downloadable PDF manuals, to enhance your experience.
Read This First
Before using your Nikon COOLPIX camera, read this manual thoroughly to ensure safe and effective operation. This guide provides essential information to help you understand the camera’s features, functions, and proper care. Familiarize yourself with safety precautions to avoid damage or injury. Use only Nikon-approved accessories to maintain performance and reliability. For the best experience, refer to the online resources, including downloadable firmware updates and the complete PDF manual. This manual is designed to enhance your photography experience with the COOLPIX, offering clear instructions for both beginners and advanced users.
Important Safety Notes
To ensure safe and proper use of your Nikon COOLPIX camera, follow these guidelines. Avoid exposing the camera to extreme temperatures, moisture, or physical stress. Handle the camera with care to prevent damage to the lens or internal components. Use only Nikon-approved accessories to maintain performance and safety. Do not attempt to modify or disassemble the camera, as this may cause malfunctions or void the warranty. Keep the camera away from children and avoid touching electrical components. Follow all instructions carefully to prevent accidents or damage. Properly store and transport the camera to avoid scratches or shocks.
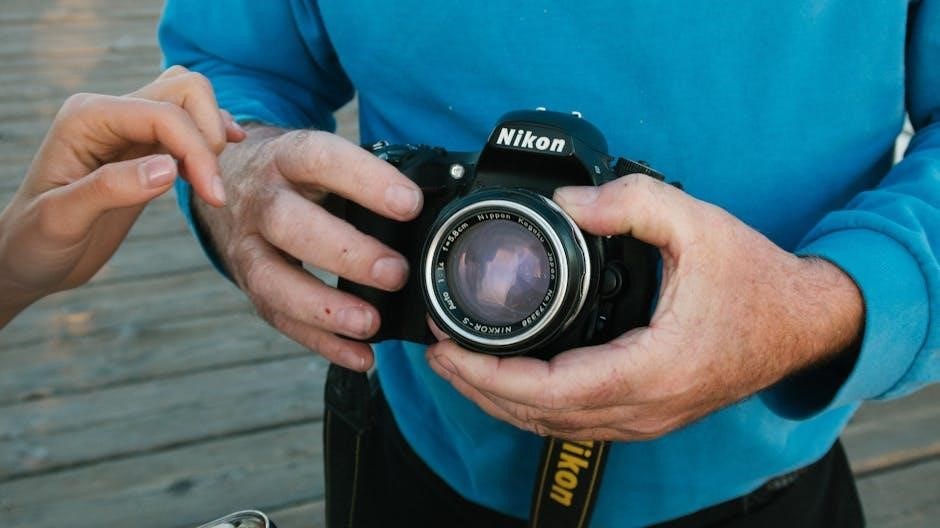
Camera Components
Your Nikon COOLPIX camera consists of essential components like the camera body, lens, LCD screen, control buttons, and memory card slot. These parts work together to ensure optimal performance.
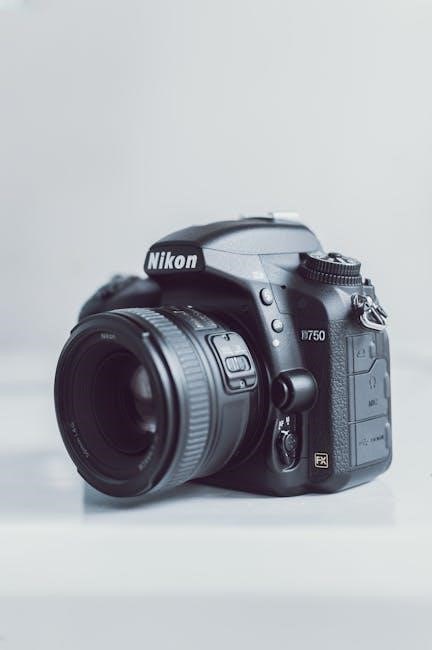
Parts of the Camera
The Nikon COOLPIX camera features a sleek design with key components. The camera body houses the internal mechanisms, while the lens captures light to form images. The LCD screen displays settings, previews, and playback of photos. Control buttons allow easy navigation through menus and adjustment of settings. The memory card slot stores images, and the battery compartment powers the device. Additionally, the power-on lamp indicates when the camera is active. Each part is designed for durability and functionality to enhance your photography experience. Proper care of these components ensures optimal performance. Always handle them with care to maintain your camera’s longevity.
Screen Indicators
The LCD screen displays essential information to guide your photography. Indicators include battery level, showing remaining power, and memory card status, indicating storage capacity. Flash settings appear when the flash is enabled or charging. Image quality settings, such as resolution and compression, are also shown. Exposure compensation indicators help adjust brightness. Additional icons may represent white balance, ISO sensitivity, and focus mode. These indicators ensure you have real-time feedback to capture perfect shots. Familiarize yourself with these symbols to maximize your camera’s functionality. Refer to the manual for a detailed explanation of each icon.
Getting Started
Welcome to your Nikon COOLPIX camera. This section guides you through initial setup and basic operations. Ensure the camera is properly prepared for use, and review safety guidelines before proceeding.
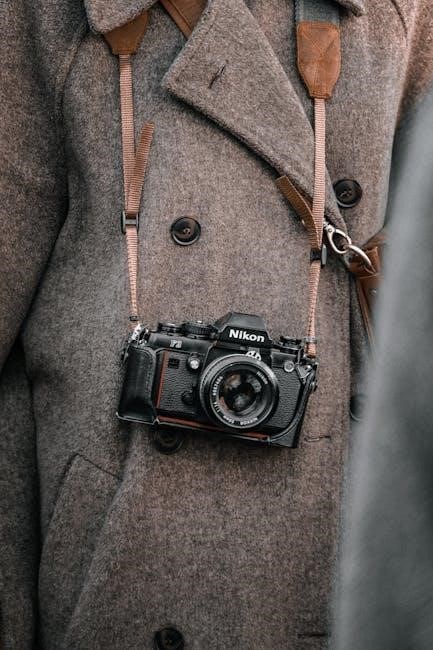
Attaching the Strap
To attach the strap to your Nikon COOLPIX camera, locate the strap eyelets on both sides of the camera body. Thread the strap through the eyelets, ensuring it is securely fastened. Adjust the strap length for comfort and ease of use. The strap provides stability, reducing the risk of accidental drops. Make sure the strap is tightly secured to prevent it from coming loose while in use. Properly attaching the strap ensures safe handling and enhances your shooting experience with the COOLPIX camera. Always check the strap’s condition for wear and tear to maintain reliability. This simple step is crucial for protecting your camera and improving usability in various shooting situations. By following these steps, you can enjoy a secure and comfortable photo-taking experience.
Inserting the Battery and Memory Card
To power your Nikon COOLPIX camera, insert the battery into the compartment located at the bottom. Open the compartment by sliding it downward. Place the battery with the terminals facing the correct direction, as indicated by the icon inside the compartment. Gently push until it clicks into place. Next, insert the memory card into the adjacent slot, ensuring it is properly aligned and oriented. Use only Nikon-approved accessories to avoid damage. Close the compartment securely to ensure the battery and card are held firmly. Always check that the compartment clicks shut properly to prevent accidental opening during use. This ensures your camera is ready for operation and your images are safely stored.
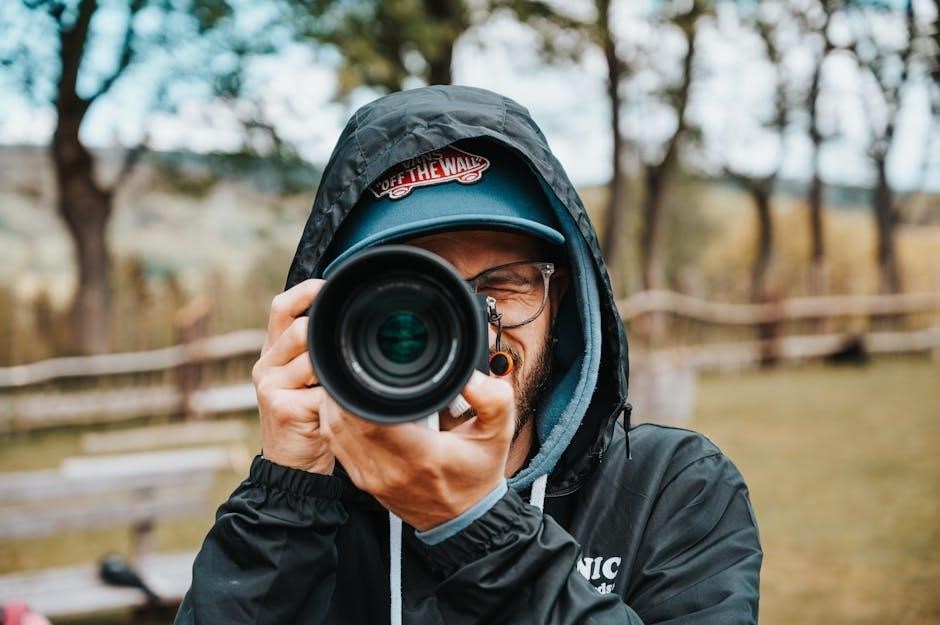
Basic Camera Operations
Mastering basic camera operations is essential for capturing stunning images. Learn to turn the camera on/off, use the zoom, and navigate through modes. Understand button functions for settings and image review to enhance your photography experience.
Using the Flexible Buttons
The flexible buttons on your Nikon COOLPIX camera are designed to provide quick access to essential functions. The zoom control allows you to get closer to your subject with ease. Use the mode button to switch between shooting modes, such as Auto or Manual. The playback button lets you review your photos instantly. Customize button functions to suit your preferences for a more personalized experience. Familiarize yourself with each button’s role to streamline your workflow and capture the perfect shot every time.
The Power-On Lamp
The power-on lamp on your Nikon COOLPIX camera indicates the device’s operational status. This lamp lights up when the camera is turned on, during focusing, and when the flash is charging. It helps you confirm that the camera is active and ready to capture images. The lamp may also blink or display different colors to signal specific modes or errors. Ensure the lamp is visible and not obstructed for proper operation. This feature is essential for hassle-free shooting, providing clear visual feedback at a glance.
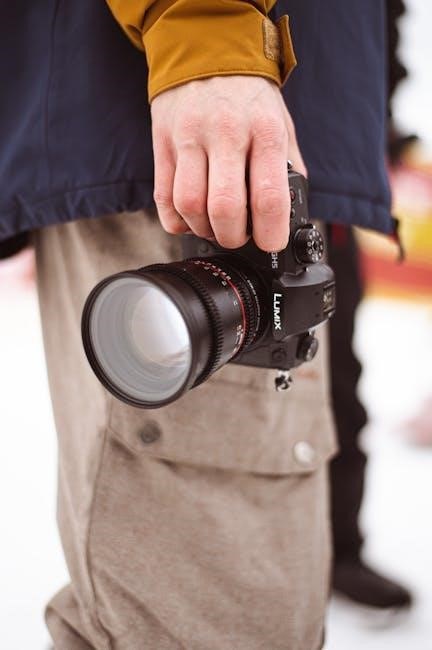
Shooting Modes
Nikon COOLPIX cameras offer versatile shooting modes to suit various photography needs. Scene modes like Portrait, Landscape, and Night enhance results in specific conditions. Explore these settings for optimal captures.
Automatic Mode

Automatic Mode simplifies photography by adjusting settings like exposure, ISO, and focus automatically. Ideal for beginners, it ensures optimal results in various lighting conditions. The camera analyzes the scene and selects the best settings, allowing you to focus solely on composition. This mode is great for quick shots and eliminates the need for manual adjustments. Use it for everyday photography, parties, or outdoor events. The COOLPIX automatically detects faces and scenes, ensuring sharp and well-lit images. It’s perfect for capturing spontaneous moments with minimal effort. Let the camera handle the technicalities while you concentrate on framing your shots perfectly.
Manual Mode
Manual Mode offers full control over camera settings, allowing advanced users to customize their shots. Adjust aperture, shutter speed, and ISO to achieve desired effects. This mode is ideal for creative photography, enabling precise control over lighting and depth of field. Use it for professional results, such as capturing landscapes, portraits, or low-light scenes. The COOLPIX’s manual controls provide flexibility and accuracy, ensuring your vision is realized. Experiment with different settings to master various techniques and enhance your photography skills. Manual Mode unlocks the camera’s full potential, giving you the freedom to express your artistic style.
Playback and Editing
Playback and editing features allow you to review and enhance your photos. Browse, delete, or organize images directly on the camera. Basic editing tools enable adjustments to brightness, contrast, and color balance, helping you refine your shots without a computer. Use these features to ensure your photos look their best before sharing. The camera’s intuitive interface makes it easy to manage and improve your images on the go.
Viewing and Deleting Images
To view images, switch to playback mode using the dedicated button. Use the arrow buttons to navigate through your photos. Zoom in on details with the zoom control. Delete unwanted images by selecting the trash can icon in playback mode. For multiple deletions, enter the delete menu and choose the images you wish to remove. This feature helps manage your memory efficiently. Ensure images are deleted only when intended, as this action cannot be undone. Regularly reviewing and deleting photos keeps your camera’s memory organized and ready for new shots.
Advanced Features
Explore advanced features like enhanced autofocus, burst mode, and RAW image capture for professional-grade photography. These tools expand your creative possibilities and improve image quality significantly.
Waterproof, Shockproof, and Dustproof Performance
Your Nikon COOLPIX camera is built to withstand tough conditions. Waterproof up to 30 meters, shockproof to withstand drops from 2.1 meters, and dustproof to keep out debris, this camera is rugged and reliable. Perfect for outdoor adventures, it ensures stunning images in any environment. Always follow guidelines to maintain these protections, such as avoiding exposure to extreme temperatures or chemicals. Regular maintenance, like cleaning the seals, is essential to preserve its durability. Enjoy capturing life’s moments, no matter where your journey takes you.
Condensation and Camera Care
Condensation can form when moving your camera between temperature extremes, potentially damaging internal components. To prevent this, place the camera in a sealed bag or use a desiccant when transitioning environments. Regularly clean the lens and body with soft, dry cloths to avoid dust and smudges. Avoid exposing the camera to extreme heat, moisture, or chemicals. Store it in a cool, dry place and ensure all compartments are closed tightly. Proper care extends the life of your Nikon COOLPIX, ensuring optimal performance and image quality. Always refer to Nikon’s guidelines for specific maintenance recommendations.

Troubleshooting
Identify common issues and resolve them quickly. Check settings, battery life, and memory card functionality. Refer to the user manual or Nikon support for detailed solutions and guidance.
Common Issues and Solutions
Identify and resolve common issues quickly. Battery life problems? Ensure the battery is fully charged and not damaged. Memory card errors? Format the card or replace it if damaged. Blurry images? Clean the lens and ensure proper focus. For firmware-related issues, update to the latest version. Condensation? Allow the camera to dry naturally. Visit the Nikon support page for additional troubleshooting guides and solutions to ensure optimal performance. Regularly updating firmware and maintaining the camera can prevent many issues. Always refer to the manual or official Nikon resources for detailed assistance.
Additional Resources
Visit Nikon’s official website for firmware updates, software downloads, and PDF manuals. Explore online guides and customer support for troubleshooting and optimizing your COOLPIX camera experience.
Downloading Firmware and Software
To ensure optimal performance, regularly update your COOLPIX camera’s firmware and software. Visit Nikon’s official website and navigate to the support section. Select your camera model to access the latest downloads. Firmware updates improve functionality and fix issues, while software enhancements enable new features. Follow the on-screen instructions for a smooth installation process. Some updates may require a card reader or specific equipment. Always use Nikon-approved updates to maintain your camera’s reliability and performance.
Accessing the PDF Manual
To access the Nikon COOLPIX camera’s PDF manual, visit the official Nikon website. Navigate to the support section and select your camera model. Click on the manual link to download the PDF. Ensure you have the latest version of Adobe Acrobat Reader installed for optimal viewing. The manual covers all features, settings, and troubleshooting tips. Print it for easy reference or save it digitally for future use. Nikon’s PDF manuals are comprehensive guides to help you master your camera’s capabilities and resolve any operational issues effectively. Regularly check for updated versions to stay informed about new features or improvements.