The Honeywell HZ311 manual provides essential guidance for installing, operating, and maintaining the TrueZONE HZ311 control panel, ensuring optimal performance and safe usage of the zoning system.
Overview of the Honeywell HZ311 TrueZONE Panel
The Honeywell HZ311 TrueZONE Panel is a versatile zoning system controller designed for conventional, single-stage applications, supporting up to 3 zones (1H/1C) at 24 volts. It offers precise temperature control and compatibility with various thermostats, making it ideal for residential and light commercial use. The panel’s fixed high (160°F) and low (45°F) limits ensure safe and efficient operation.
Its intuitive design simplifies installation and configuration, while the comprehensive manual provides detailed instructions for optimal setup and troubleshooting, ensuring users can maximize the system’s performance and reliability.
Importance of the Manual for Proper Installation and Operation
The Honeywell HZ311 manual is crucial for correct installation, operation, and maintenance, ensuring the system functions safely and efficiently. It provides step-by-step instructions, technical specifications, and troubleshooting tips, helping users avoid common errors and optimize performance.
By following the manual, users can prevent potential issues, guarantee compliance with safety standards, and maximize the system’s longevity and effectiveness, making it an indispensable resource for both professionals and homeowners.
Key Features and Specifications of the Honeywell HZ311
The Honeywell HZ311 TrueZONE Panel supports up to 3 zones, operates at 24 volts, and offers fixed temperature limits for efficient heating and cooling control.

Product Overview and Technical Specifications
The Honeywell HZ311 TrueZONE Panel is designed for conventional, single-stage HVAC systems, supporting up to 3 zones (1H/1C) at 24 volts. It features fixed high and low temperature limits of 160°F and 45°F, respectively, ensuring efficient and safe operation. The panel is compatible with various Honeywell thermostats and accessories, making it a versatile solution for zoning control systems. Its robust design and user-friendly interface simplify installation and configuration, providing reliable performance for residential and light commercial applications.
Zone Control Capabilities and Compatibility
The Honeywell HZ311 supports up to 3 zones (1H/1C) for precise temperature control in residential and light commercial settings. Compatible with 24V systems, it works seamlessly with Honeywell thermostats and accessories, ensuring flexible and efficient zoning. Its design simplifies installation and configuration, making it a reliable choice for managing multiple zones while maintaining optimal performance and energy efficiency in various HVAC applications.
Installation Guide for the Honeywell HZ311
The Honeywell HZ311 manual offers detailed, step-by-step installation instructions, ensuring compatibility with 24V systems and proper integration with HVAC equipment for a seamless setup process.
Step-by-Step Installation Instructions
The Honeywell HZ311 manual provides a clear, step-by-step guide for installing the TrueZONE control panel, including wiring diagrams, tool requirements, and system compatibility checks. Ensure proper connection to 24V HVAC systems and thermostats. Follow safety guidelines and refer to the official Honeywell PDF manual for detailed instructions to avoid errors and ensure optimal performance. Visit the Honeywell website for the latest installation guide and troubleshooting tips.
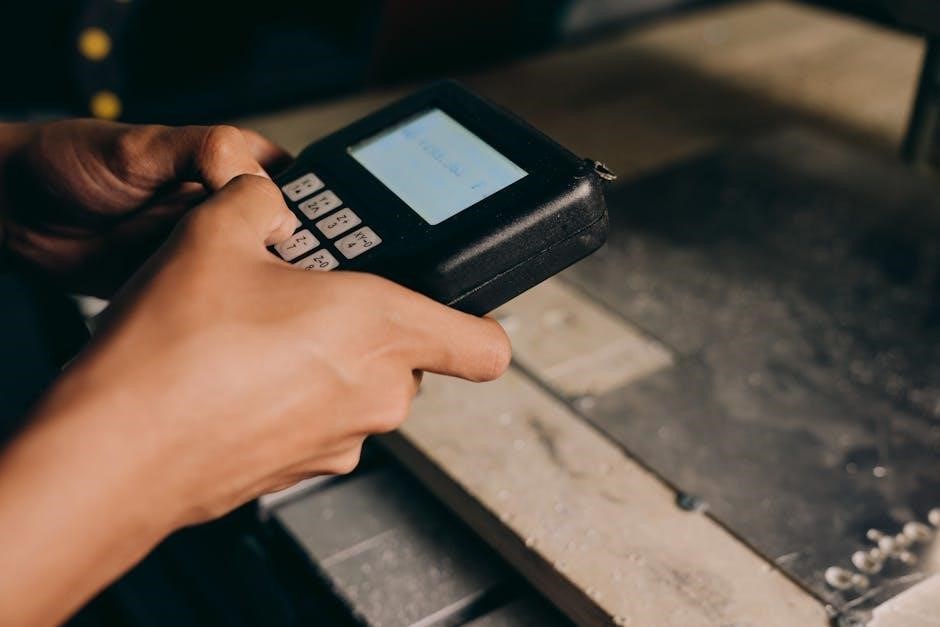
Recommended Tools and Materials for Installation
The Honeywell HZ311 manual specifies the necessary tools and materials for a successful installation, including screwdrivers, pliers, wire strippers, and a multimeter for electrical connections. Ensure you have compatible wiring, connectors, and a 24V power supply. Refer to the official PDF manual for a detailed list of required tools and materials to ensure a safe and proper setup of the TrueZONE control panel.
Operating Instructions for the Honeywell HZ311
Understand the Honeywell HZ311’s control panel interface and configuration options through the provided manual, ensuring efficient zone management and thermostat settings for optimal system performance.
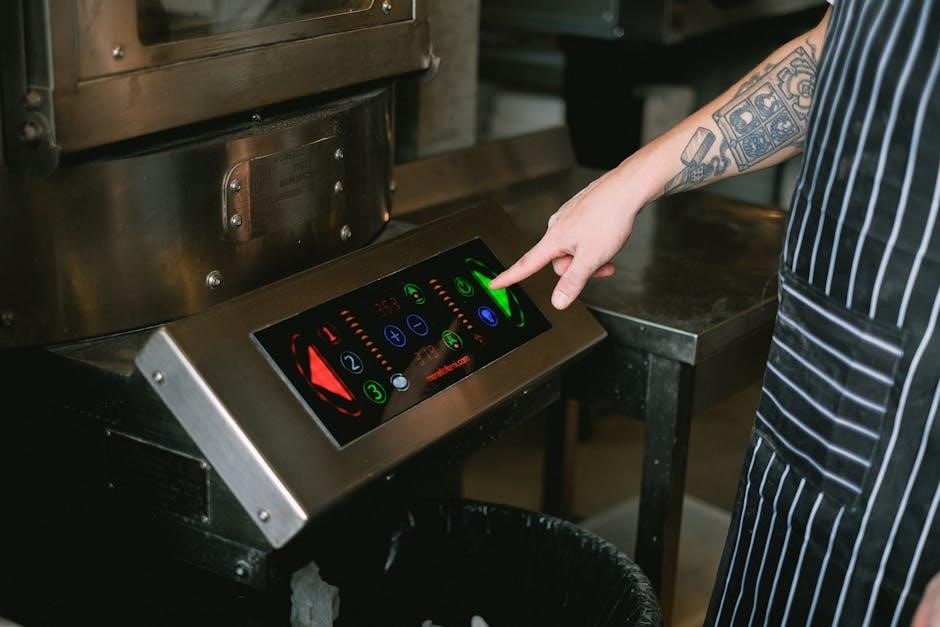
Understanding the Control Panel Interface
The Honeywell HZ311 manual details the control panel interface, featuring buttons for zone control, temperature adjustment, and system mode selection. The LCD display provides clear status updates, while indicator lights signal active zones or errors. Users can navigate through menus to configure settings, view diagnostics, and access advanced features. The manual guides users in interpreting interface elements, ensuring smooth operation and troubleshooting of the zoning system. Compatibility with Honeywell thermostats enhances functionality.

Configuring Zones and Thermostat Settings
The Honeywell HZ311 manual explains how to configure zones and thermostat settings for precise temperature control. Users can assign zones, set temperature ranges, and pair the system with compatible Honeywell thermostats. The manual guides through menu navigation for customizing zone operations, scheduling, and energy-saving modes. It also details how to synchronize thermostat settings with the control panel to ensure seamless system performance and optimal comfort across all zones. This setup ensures efficient heating and cooling distribution.

Troubleshooting Common Issues
The Honeywell HZ311 manual helps identify and resolve common system issues, such as zone control malfunctions or thermostat connectivity problems, ensuring smooth operation and efficient troubleshooting.
Diagnosing and Resolving Common Problems
The Honeywell HZ311 manual provides detailed steps to diagnose issues like wiring problems, power supply faults, or system errors. Users can troubleshoot by checking connections, verifying power, and resetting the system. For complex issues, the manual offers advanced solutions, such as recalibrating zones or updating firmware. Referencing the manual ensures quick resolution, minimizing downtime and optimizing system performance. Regular maintenance, as outlined, helps prevent recurring problems.
Resetting the System and Factory Defaults
Resetting the Honeywell HZ311 system restores it to factory defaults, erasing custom settings. Follow the manual’s instructions to perform a reset via the control panel or by pressing specific buttons. Ensure all configurations are backed up before proceeding, as a reset will clear all customized zone settings and thermostat configurations. This process is useful for troubleshooting or preparing the system for a new installation. Always refer to the manual for precise reset procedures to avoid data loss and ensure proper system operation. Regular backups are recommended to prevent loss of personalized settings. By resetting, users can start with a clean slate, optimizing system performance and reliability. This step is crucial for maintaining the system’s efficiency and addressing persistent issues that cannot be resolved through standard troubleshooting methods. Resetting should be done cautiously and only when necessary, as it will revert all settings to their original state. After resetting, users must reconfigure zones and preferences according to their specific needs. The manual provides detailed guidance to help users navigate this process smoothly and effectively, ensuring minimal disruption to their heating and cooling operations. Resetting is a powerful tool for system maintenance and should be utilized judiciously to preserve customized configurations and avoid unnecessary complications. Always verify the reset procedure with the official Honeywell HZ311 manual to ensure accuracy and prevent potential errors that could arise from incorrect methods. By following the outlined steps, users can confidently reset their system, restoring it to factory defaults and resolving underlying issues that may have been affecting performance. This feature is a testament to Honeywell’s commitment to providing user-friendly solutions for system management and maintenance. Resetting the HZ311 is a straightforward process when done correctly, allowing users to maintain optimal system functionality and adapt to changing environmental control needs. It is a key aspect of the system’s design, emphasizing ease of use and robust performance. Through regular resets and proper configuration, users can extend the lifespan of their Honeywell HZ311 and ensure it continues to meet their heating and cooling requirements effectively. The manual serves as an invaluable resource, offering clear instructions and best practices for resetting and managing the system. By adhering to these guidelines, users can maximize the potential of their Honeywell HZ311, enjoying reliable and efficient zone control for years to come. Resetting the system and restoring factory defaults is a simple yet effective way to maintain peak performance and address any unforeseen issues that may arise during operation. It is a feature that underscores Honeywell’s dedication to providing durable and user-centric products for home comfort solutions. Always consult the Honeywell HZ311 manual for the most accurate and up-to-date instructions on resetting and managing your system. This ensures that all procedures are performed safely and correctly, preventing any potential damage or malfunction. With the manual as a guide, users can confidently reset their system, knowing they are following proven steps to restore factory settings and optimize performance. Resetting the HZ311 is a critical maintenance task that should be understood and performed by all users to ensure the longevity and efficiency of their zoning system. By familiarizing themselves with the reset process, users can take a proactive approach to system management, addressing issues promptly and maintaining a comfortable indoor environment. The Honeywell HZ311 manual is an essential tool for anyone looking to reset their system, offering clear, step-by-step instructions that make the process accessible even to those with limited technical expertise. Resetting the system is a powerful diagnostic and maintenance tool that, when used correctly, can resolve a variety of common issues and restore the HZ311 to its optimal functioning state. It is a feature that highlights the versatility and robustness of the Honeywell HZ311, making it a reliable choice for zoned heating and cooling applications. Always remember to refer to the manual before performing a reset to ensure the process is completed successfully and without complications. By doing so, users can maintain their system’s health and continue to enjoy the benefits of precise temperature control across multiple zones. The ability to reset the system and restore factory defaults is a key advantage of the Honeywell HZ311, providing users with a quick and effective way to troubleshoot and maintain their zoning system. It is a testament to Honeywell’s focus on user convenience and system durability, ensuring that the HZ311 remains a top choice for homeowners seeking advanced climate control solutions. Resetting the system is a simple procedure that can make a significant difference in maintaining the efficiency and performance of the Honeywell HZ311. By following the manual’s guidelines, users can reset their system with confidence, knowing they are taking the right steps to preserve their investment and ensure continued comfort in their home. The Honeywell HZ311 manual is a comprehensive resource that not only guides users through the reset process but also provides valuable insights into system maintenance and optimization. It is an indispensable tool for anyone seeking to get the most out of their zoning system. Resetting the Honeywell HZ311 is a straightforward process that, when performed correctly, can resolve a multitude of issues and restore the system to its factory settings. The manual offers clear instructions to help users navigate this process with ease, ensuring that their system continues to function at its best. By resetting the system, users can eliminate persistent problems and start anew, configuring the HZ311 to meet their specific needs without the burden of previous settings. This feature is particularly useful during troubleshooting or when transferring ownership of the system. The Honeywell HZ311 manual emphasizes the importance of regular maintenance and resets to uphold the system’s performance and longevity. By incorporating these practices into their routine, users can enjoy a reliable and efficient zoning system for years to come. Resetting the system is a critical aspect of Honeywell HZ311 maintenance, allowing users to address issues promptly and maintain optimal functionality. The manual provides a clear roadmap for this process, ensuring that users can reset their system with confidence and precision. It is a key feature that reinforces the Honeywell commitment to delivering high-quality, user-friendly products designed to enhance home comfort and efficiency. Always refer to the Honeywell HZ311 manual for accurate instructions on resetting the system and restoring factory defaults. This ensures that the process is done correctly, preventing any unintended consequences and maintaining the system’s integrity. By following the manual’s guidance, users can reset their system efficiently, eliminating issues and restoring it to peak performance. The Honeywell HZ311 manual is an invaluable resource for understanding and performing system resets, offering detailed steps and best practices to help users master the process. It is a testament to Honeywell’s dedication to providing comprehensive support for their products, ensuring that users have the tools they need to maintain and optimize their zoning systems. Resetting the HZ311 is a powerful diagnostic tool that, when used appropriately, can resolve a variety of system issues and restore functionality. The manual serves as a trusted guide, walking users through each step of the reset process and providing essential tips for post-reset configuration. By utilizing this feature, users can keep their Honeywell HZ311 operating smoothly, ensuring consistent comfort and energy efficiency in their homes. The ability to reset the system and restore factory defaults is a significant advantage of the Honeywell HZ311, offering users a reliable method to address problems and maintain system health. The manual’s clear instructions make the process accessible to all users, regardless of their technical expertise. It is a feature that underscores Honeywell’s focus on user satisfaction and product reliability. Resetting the Honeywell HZ311 is a simple yet effective way to restore the system to its original state, eliminating unwanted configurations and resolving persistent issues. The manual provides a step-by-step guide to ensure a smooth reset process, helping users to avoid common pitfalls and achieve the desired outcome. By resetting the system, users can start fresh, configuring the HZ311 to their specific requirements without the constraints of previous settings. This feature is particularly beneficial for troubleshooting or when setting up the system for a new installation. The Honeywell HZ311 manual is a vital resource for anyone looking to reset their system, offering detailed instructions and expert advice to facilitate a successful reset. It is a demonstration of Honeywell’s commitment to providing users with the tools and information needed to maintain their systems effectively. Resetting the HZ311 is a straightforward procedure that can significantly improve system performance and address a variety of common issues. The manual’s clear guidance ensures that users can perform the reset with confidence, knowing they are following proven steps to restore factory settings. By doing so, users can enhance the efficiency and reliability of their zoning system, ensuring it continues to meet their heating and cooling needs effectively. The Honeywell HZ311 manual is an essential companion for any user seeking to reset their system, offering comprehensive support and ensuring a seamless experience. It is a reflection of Honeywell’s dedication to delivering high-quality products and exceptional user support. Resetting the system is a key maintenance task that should be performed as needed to preserve the functionality and efficiency of the Honeywell HZ311. The manual provides everything users need to know to reset their system successfully, from preparation to post-reset configuration. By following these guidelines, users can maintain their system’s optimal performance and enjoy continued comfort in their homes. The ability to reset the Honeywell HZ311 and restore factory defaults is a valuable feature that empowers users to take control of their system’s maintenance and troubleshooting. The manual serves as a trusted guide, offering clear instructions and expert recommendations to help users navigate the reset process with ease. It is a testament to Honeywell’s focus on user empowerment and product excellence. Resetting the HZ311 is a simple yet powerful action that can resolve numerous system issues and restore it to its

Compatibility with Other Honeywell Systems
The Honeywell HZ311 TrueZONE Panel is designed to integrate seamlessly with other Honeywell systems, including compatible thermostats and home automation devices, enhancing overall system performance and control.