The York Furnace Manual PDF provides essential guidance for installing, maintaining, and troubleshooting York furnaces, ensuring optimal performance and safety for residential and commercial applications․
1․1 Overview of York Furnace Models
The York Furnace Manual PDF covers various furnace models, including high-efficiency condensing furnaces and compact designs suitable for residential and commercial installations․ These models are designed to provide reliable heating with advanced features such as induced draft motors and high-efficiency ratings․ The manual details specifications for models like the York R410A and others, ensuring users understand their capabilities and installation requirements․ Whether for basement or closet installations, York furnaces offer versatile solutions for different spaces and heating needs․
1․2 Importance of Referencing the Manual
Referencing the York Furnace Manual PDF is crucial for ensuring safe and proper installation, operation, and maintenance of the furnace․ The manual provides detailed instructions to avoid malfunctions and potential safety hazards․ It outlines essential steps for troubleshooting common issues and highlights warranty terms to maintain coverage․ By following the manual, users can optimize furnace performance, reduce energy consumption, and extend the system’s lifespan․ Proper adherence to the guidelines ensures compliance with safety standards and manufacturer recommendations, making it a vital resource for both installers and homeowners․
Installation Guidelines
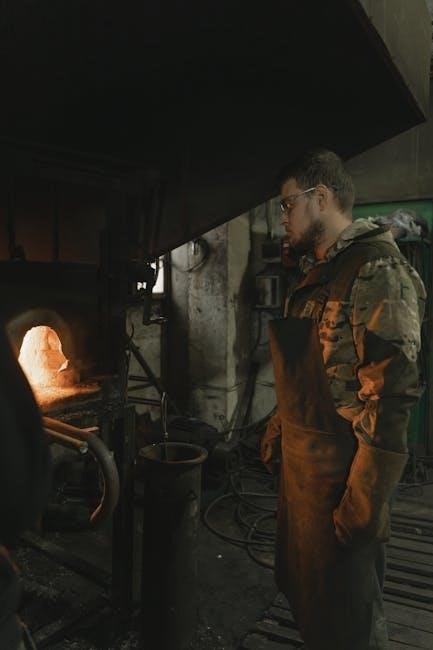
Installation requires strict adherence to the manual, ensuring safety protocols are followed․ Professional expertise is recommended to handle electrical components and ventilation setup properly for optimal furnace performance․
2․1 Pre-Installation Checks
Before installing a York furnace, ensure the installation site meets all safety and technical requirements․ Verify proper ventilation, electrical connections, and compatibility with existing ductwork․ Remove all packaging materials to prevent operational issues․ Check for any damage during shipping and ensure all components are included․ Review local building codes and regulations to ensure compliance․ Properly prepare the area to avoid obstructions and ensure safe access for maintenance․ Failure to perform these checks may result in malfunctions or safety hazards․ Always refer to the manual for specific guidelines tailored to your furnace model․
2․2 Step-by-Step Installation Process
Begin by unpacking and inspecting the furnace for damage․ Position the unit in a well-ventilated area, ensuring compliance with local codes․ Secure the furnace to the floor using anchor brackets․ Connect gas and electrical lines, following manual instructions․ Install the venting system, ensuring proper clearance and alignment․ Attach the thermostat and connect it to the furnace․ Test all connections for leaks and functionality․ Power on the system and verify smooth operation․ Refer to the manual for model-specific instructions and safety guidelines․ Ensure all installations comply with manufacturer recommendations for optimal performance and safety․

2․4 Ventilation Requirements
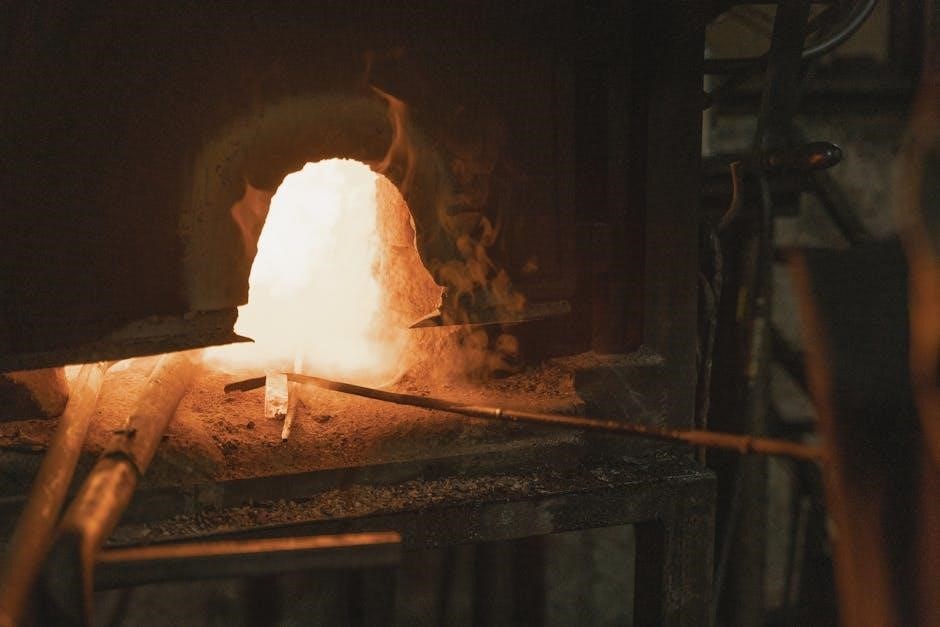
Proper ventilation is critical for safe and efficient furnace operation․ Ensure the installation location has adequate airflow to prevent combustion byproducts buildup․ Install venting systems according to local codes and manufacturer specifications․ Use approved materials for vent pipes, ensuring they are correctly sized and sloped․ Maintain clearances from flammable materials and ensure vents terminate outside, away from windows and doors․ Regularly inspect venting systems for damage or blockages․ Proper ventilation enhances safety, efficiency, and system longevity, complying with industry standards and manufacturer guidelines․
Maintenance and Troubleshooting

Regular inspections and filter cleaning ensure optimal furnace performance․ Refer to the manual for troubleshooting common issues like ignition failures or error codes, ensuring safety and efficiency․
3․1 Regular Maintenance Tips
Regular maintenance is crucial for optimal furnace performance․ Inspect and clean air filters monthly to ensure proper airflow․ Check venting systems for blockages or damage․ Clean the furnace’s combustion chamber and heat exchanger annually․ Ensure electrical connections are secure and dry․ Lubricate moving parts as specified in the manual․ Schedule professional inspections annually to identify potential issues early․ Always turn off power before performing maintenance tasks․ These steps help prevent malfunctions, improve efficiency, and extend the furnace’s lifespan․ Refer to the York Furnace Manual PDF for detailed procedures and safety guidelines․
3․2 Common Issues and Solutions
Common issues with York furnaces include malfunctioning igniters, faulty pressure switches, and clogged venting systems․ If the furnace fails to ignite, check the igniter for dirt or damage and clean or replace it as needed․ For pressure switch problems, ensure venting systems are clear of obstructions․ Clogged filters can cause inefficiency, so replace them monthly․ If the furnace shuts off unexpectedly, inspect the thermostat settings and electrical connections․ Consult the York Furnace Manual PDF for troubleshooting steps and solutions․ Addressing these issues promptly helps restore functionality and prevents further damage․ Always follow safety guidelines when performing repairs․
Safety Precautions

Adhere to safety guidelines to prevent hazards․ Protect electrical components from water exposure․ Follow manual instructions for proper usage․ Ensure ventilation systems function correctly․ Only authorized personnel should perform repairs․
4․1 Electrical Component Protection
Protecting electrical components is crucial for safety and functionality․ Ensure all components are shielded from water exposure․ Properly install and secure wiring connections․ Regularly inspect for damage or wear․ Follow manual guidelines for safe operation․ Avoid overloading circuits․ Keep the furnace area clean and dry․ Use surge protectors if necessary․ Ensure grounding systems are correctly installed․ Refer to the manual for specific electrical safety measures․ Always disconnect power before servicing․ Consult a certified technician for complex electrical issues․ Regular maintenance can prevent electrical malfunctions․ Adhere to manufacturer recommendations to ensure long-term reliability and prevent potential hazards․
4․2 Proper Usage Instructions
Proper usage ensures safety, efficiency, and longevity of the York furnace․ Always read the manual thoroughly before operation․ Remove all packaging and protective materials․ Follow installation and usage guidelines precisely to avoid malfunctions․ Ensure proper ventilation to maintain airflow and prevent hazards․ Regularly check filters and maintain cleanliness․ Adhere to electrical safety precautions․ Operate the furnace only as intended, avoiding unauthorized modifications․ Refer to the manual for specific temperature settings and controls․ If unsure, consult a certified technician․ Proper usage aligns with safety standards and optimizes performance․ Adhere to all guidelines for reliable and efficient heating;
Technical Specifications
The York Furnace Manual PDF outlines key specifications, including furnace dimensions, capacity, efficiency ratings, and features, ensuring optimal performance and compatibility with various heating systems․
5․1 Furnace Dimensions and Capacity

The York Furnace Manual PDF provides detailed specifications, including dimensions and capacity, to ensure proper sizing for residential and commercial spaces․ Furnaces are designed with compact dimensions to fit various installation locations, such as basements or closets․ Capacities vary to meet different heating demands, ensuring efficient performance․ For example, models like the YSG-400500C-0808-R02 offer specific BTU ratings tailored to different environments․ Understanding these specifications helps in selecting the right furnace for optimal heating needs․ Refer to the manual for exact measurements and capacity ranges to ensure compatibility and performance․
5․2 Efficiency Ratings and Features
York furnaces are designed with high efficiency in mind, featuring advanced technologies like condensing systems and modulating burners․ These models achieve high Annual Fuel Utilization Efficiency (AFUE) ratings, ensuring minimal energy waste․ The manual details specific efficiency ratings for each model, such as 90% AFUE or higher, making them suitable for eco-conscious homeowners․ Additional features include variable-speed blowers, programmable thermostats compatibility, and quiet operation․ These innovations enhance performance while reducing energy consumption․ The York Furnace Manual PDF provides a comprehensive overview of these features, helping users make informed decisions for their heating needs․

Warranty and Support
York furnaces come with a comprehensive warranty program, covering parts and labor for specified periods․ Dedicated customer support ensures assistance with inquiries, repairs, and maintenance needs․

6․1 Warranty Terms and Conditions
The York Furnace Manual PDF outlines detailed warranty terms, ensuring coverage for parts and labor under specific conditions․ Registration within 90 days of installation is typically required to activate the warranty․ The warranty period varies by component, with heat exchangers often covered for extended durations․ Proper installation, as per the manual, is mandatory for warranty validity․ Damage from improper use, neglect, or unauthorized modifications may void coverage․ Users are advised to review the manual thoroughly to understand exclusions and maintain eligibility for warranty benefits, ensuring optimal protection for their investment in York furnaces․
6․2 Contact Information for Support
For assistance with York furnaces, contact York International Corp․ at 5005 York Drive, Norman, OK 73069․ Call their customer service at (800) 331-1950 or visit www․york․com for support․ Email inquiries can be sent to support@york․com․ The manual also directs users to regional service centers for localized help․ Online resources, including FAQs and troubleshooting guides, are available on the York website․ For urgent issues, 24/7 support is accessible through their toll-free hotline․ Ensure to have your furnace model and serial number ready for efficient assistance․ Refer to the manual for additional contact details and support options․